Saturday, March 31, 2012

My NuBees Blocks Are Here!

I just participated in my first round of the NuBees Block Swap on Flickr! I have to say, I had no idea how much fun an online swap could be. Not only did I get some beautiful blocks, but I had such a great time connecting with new people from around the country. Very cool.


For this swap, each participant makes any 12-1/2" block pattern they want for each of the other participants, but they make the block in that person's request colors. (Wow - that's convoluted, but hopefully you understand what I mean.) I asked the other group members to make my blocks in all grays and whites (mostly because I was having trouble deciding which colors I would want! I want them ALL!!!).

Here are the amazing blocks I received from my NuBees Hive! I couldn't even wait to press them - I just had to get 'em on the design wall and take a photo to share with y'all. How COOL is this?!?!?


And I made these for them:


Thanks to Melissa, Deb, Diane and Shelley for the gorgeous blocks and a super-fun swap!


I'm curious - do you participate in any online swaps? Which have been your favorites?


Happy Stitching!

Kelly

Wednesday, March 28, 2012

Improvisational Pieced Mug Rug Tutorial

Mug rugs are so big right now! As I've said before, these uber mini quilts are great for trying out new techniques, and in this case, perfect for using up scraps and orphan blocks. All you need to make this mug rug is a big ole handful of scraps, your sewing machine, and your rotary cutter, mat, and ruler.

Improvisational piecing is just that: improvised. You'll learn things as you go, and discover new ways to add to your piece. It's all straight-line sewing, but remember you can sew at crazy/steep angles, or on normal vertical/horizontal paths. Every time you add on a new piece of fabric, cut a new straight line for yourself. I think you'll see what I mean in the photos.

I'll wait for you to get your things gathered.


pile 'o scraps

(waiting)

Ok, here goes:

How To Make an Improvisational, Pieced Mug Rug


1. Pick a scrap. Any scrap.


2. Sew another piece of fabric to the first scrap.


3. Sew on a third piece. This time, I stitched the new piece of fabric across the main unit at an angle.


4. Press the new piece of fabric open, and then trim your the fabrics to create continuous straight edges.


5. Repeat until your mug rug is the size your want. Sew a scrap onto the main unit and trim a new straight edge. Also try piecing fabrics together before adding them to the main unit. See what I mean below:


Sew two pieces together before joining them with the main unit.

Sew orphan blocks (like the hour glass block here) to more scraps, and then to the base unit.
 6. Trim your mug rug top to the size you want (rule of thumb: about the size of a hardback book). Make your quilt sandwich as normal and baste together.


7. Quilt that bad boy up! I did some seriously wacky straight line quilting on this one, following the shapes of the scraps.


8. Add binding as normal. I pieced together some scrap binding I had laying around to keep the scrap theme going. Don't throw that stuff out!


tada!


back
9. Add a cup of coffee or tea and enjoy your new mug rug!


Happy Stitching,

Kelly

Monday, March 26, 2012

How To Sew A Hanging Sleeve On A Quilt

I'm sure you're like me in this. Sometimes after I spend AGES on a quilt, I just want to stare at it for a little while. Or for a long while. And the best place for it is decorating a previously boring ole wall in my apartment. Attaching a super-fast hanging sleeve to the back makes it easy to hang your quilt with a standard curtain rod without having to damage the quilt with thumbtacks or (yikes!) nails. 

And since no one's ever going to see it, don't stress out - this is purely functional, y'all.

Once your quilt is quilted and trimmed but BEFORE it's bound:

1. Cut an 8-1/2" strip of fabric that measures the width of your quilt. 

2. Press the short ends of the strip under (to the wrong side) 1/4". Press under again so the raw edges are totally enclosed. Stitch the folds in place.

3. Press the strip in half lengthwise with wrong sides together.
Egads. I think I need a new ironing board cover . . .!

4. Align the raw edges of the strip with the top raw edge of your quilt back, centering the middle of the sleeve with the middle of the quilt.

5. With a long stitch, baste along the top edge of the quilt, about 1/8" in from the edge, securing the sleeve in place.

oooh look - a sleeve!  :-)
6. Sew on your binding as normal. When you stitch the binding to the back across the top of the quilt, simply stitch through the layers of the sleeve as well. This completely secures the binding and the hanging sleeve.


7. Hand stitch the bottom folded edge of the sleeve to the quilt using an invisible stitch (like what you use to hand stitch your binding to the back of the quilt).

8. Slide a curtain rod through the sleeve and hang!

Happy Stitching!

Kelly

Friday, March 23, 2012

Swoon Update

My Swoon quilt is comin' right along, y'all!

(As a side note, I don't know why I write with a southern drawl. It just comes out when I type . . . )

I got lazy and decided to mass-produce these suckers, rather than doing them one at a time. The cutting is so intensive that I just stacked my FQs and started cutting them all at once. To be sure, this requires being pretty careful with keeping your fabrics stacked in the right order, but I think I'm doing alright.


ARGGHHH, these blocks are so delicious - NOM NOM NOM!

OK, I'm a little weird. but you knew this already, right?  ;-)

Update: Here's a link back to my first Swoon block and my second. Seven more to go!  

Happy Stitching!

Kelly


Friday, March 16, 2012

Blog Hop Giveaway!

Hi quilting/stitching/bloggy friends!

In celebration of St. Patty's Day, I've jumped on the Blog Hop Party train 'o fun! The blog hop begins on March 17, and each blog (including this one) will host a giveaway - - amazing, no? Click here for the full list of participants.

THIS GIVEAWAY IS NOW CLOSED.

THE STITCHY QUILT STUFF GIVEAWAY 
Who doesn't love fabric? If we didn't, most of us wouldn't be sewing! For my giveaway, I'll randomly choose one lucky winner to win this:

 Four super yummy fat quarters and (40) 3.5" pre-cut squares from my stash.


To enter the Stitchy Quilt Stuff giveaway, you have to do 2 extremely simple things:

  1. Become a follower of this blog (if you're not already) by clicking Join This Site in the right-hand sidebar.
  2. Leave a comment on this post telling us all what sewing pattern or quilt block pattern you're dying to try!
The giveaway closes at 12:00pm EST on March 23rd. A random winner will be announced later that day.

THIS GIVEAWAY IS NOW CLOSED.

Be sure to jump on the Blog Hop  - - There are lots of great blogs participating and some amazing goodies to be won - - click here for the full list of participants!

(Note: This giveaway is open to U.S. residents only.)

Happy Stitching!

Kelly

NEW 3/23/12: Congratulations to the winner: SANDRA! I'll be contacting you for your shipping info. Thank you ALL of you for entering - I loved reading your comments (and laughed out loud at quite a few of them - y'all are funny!). Thanks again, and stay in touch - I love hearing from you!  - - - Kelly

Wednesday, March 14, 2012

How Make A Modern Flying Geese Mug Rug

Hello my lovely internet friends! I have a mug rug swap coming up at my next Cincinnati Modern Quilt Guild meeting and I decided to play around with some of the uber delicious scraps that are piling up from my Swoon Quilt.

I posted a few days ago about how to make flying geese units, so this mug rug is a modern, semi-freeform take on that concept. 


If you haven't heard of or made a mug rug before, let me put you at ease. There are no rules when it comes to mug rugs! Essentially, a mug rug is a mini-placemat for a mug of tea and a cookie to go on. (Or in my case, a cup of coffee and a scone.) So, don't stress about how big to make it or anything else you may think of to worry about. Mug rugs are great to try your hand at something new, to do some improvisational piecing, or to use up a pile of scraps.

This mug rug will finish approximately 8" x 10", but you can easily make adjustments to make it larger or smaller. 


Eco-Friendly Geese Mug Rug
(because the geese are green. . . . get it?)
  • Cut (5) 4.5" x 2.5" green print rectangles
  • Cut (10) 2.5" x 2.5" dark background squares
  • Cut (1) 4.25" x 10.5" dark background rectangle (not shown)


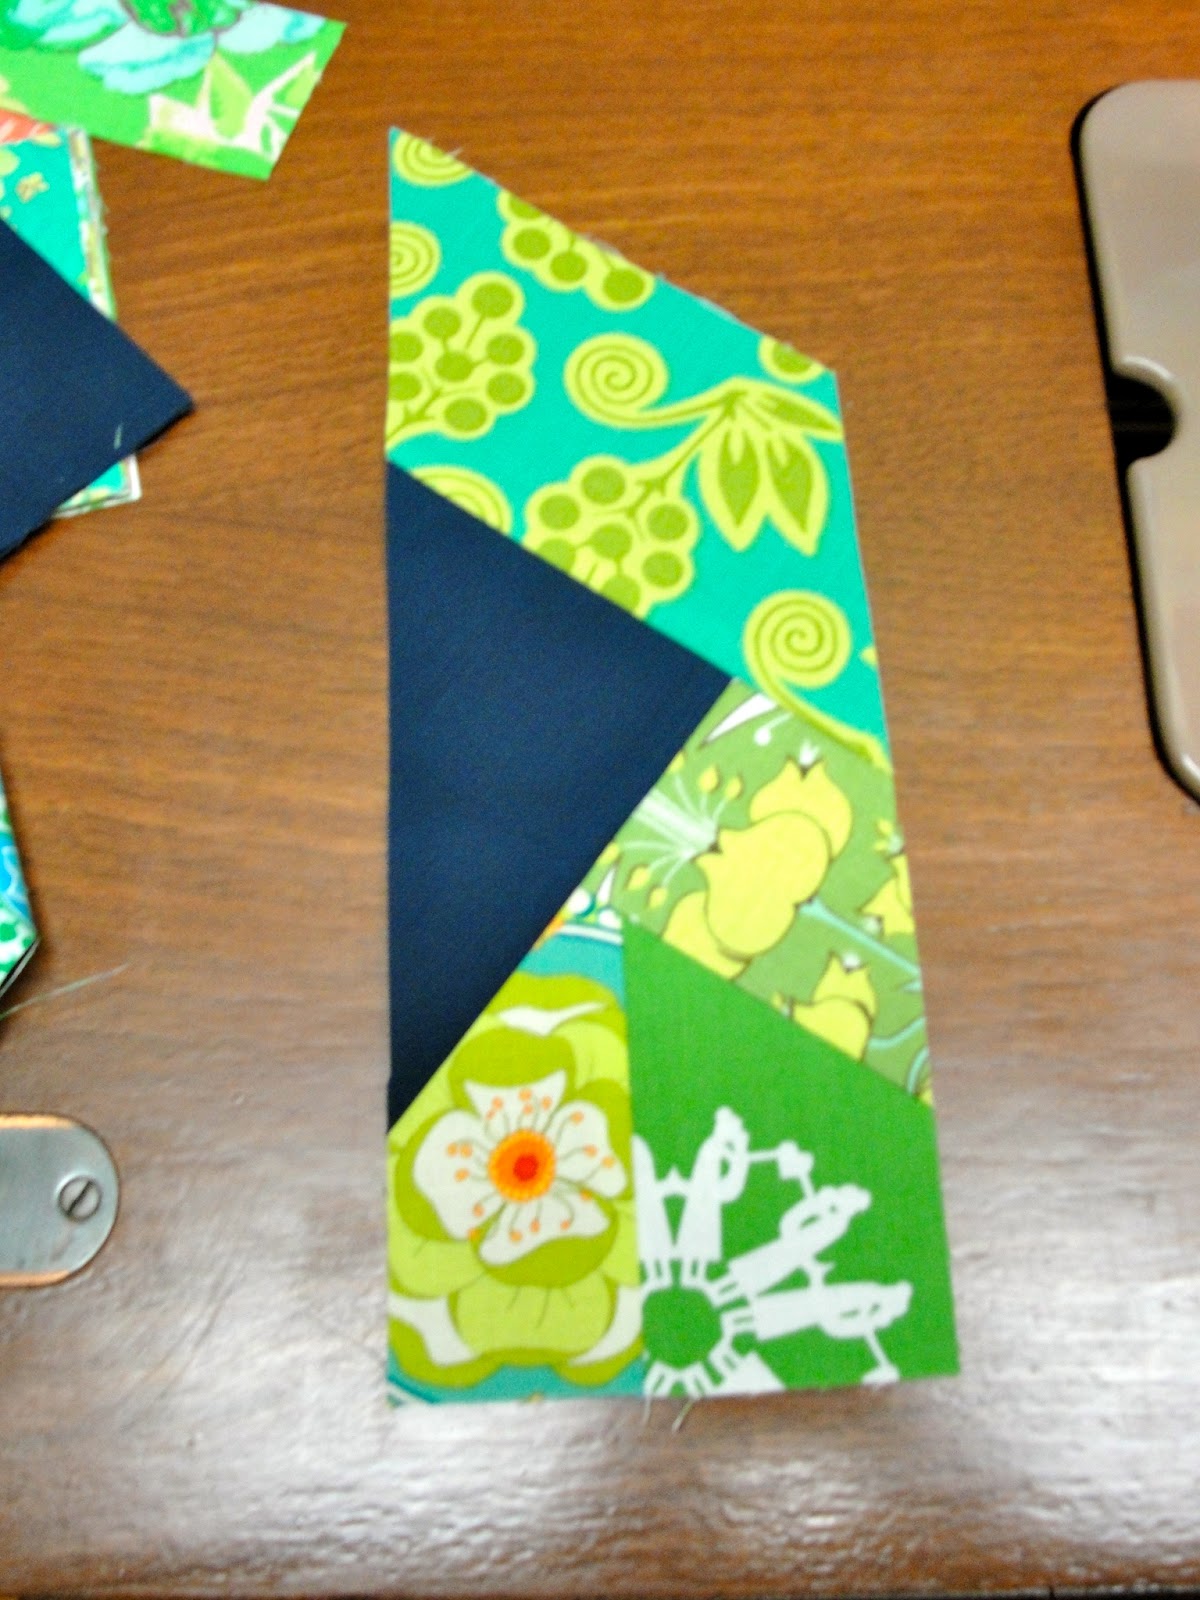
Using the background squares and the green rectangles, make 5 flying geese units. Refer to the tutorial here for help, or to the photos below. Be sure to sew ON the diagonal line, not 1/4" away from it (like you do when make half square triangles).


Line up your finished and pressed flying geese units in a vertical row. I pointed all of my geese in the same direction, but maybe one of your geese is flying the wrong way—who knows? Have fun!


Sew the vertical column of geese together, using a really crisp 1/4" seam. My geese certainly aren't perfect and that's okay because guess what? Somebody's gonna' sit a mug 'o joe on this bad boy and stain it anyway. I'm not gonna' agonize over every single point.

THAT SAID: the goal is to have perfect points - the point touching the goose above it without being cut off.

Press your geese unit really well when you're finished.


Sew the large background rectangle to the right side (or the left side - you pick! I'm bossy, but hey, do what you want!) of your geese unit.

(Note: I was using up scraps, so I pieced my side rectangle, which is why you can see seams in the photo. Feel free to piece your side rectangle too, if you need to, or simply cut a whole rectangle from one piece of fabric.)


Layer with batting and backing just like normal...


Baste . . .


Quilt and bind...

I used this yummy variegated cotton thread because I wanted to play around with the quilting and really have it show up.


Make a cup of tea or brew up a pot of coffee, and enjoy!


Happy Stitching!

Kelly